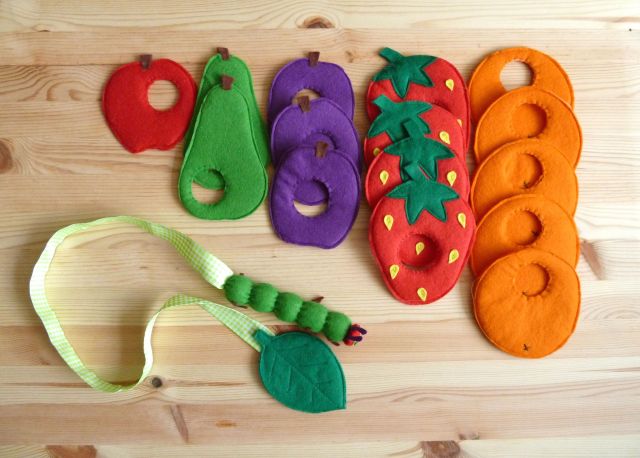
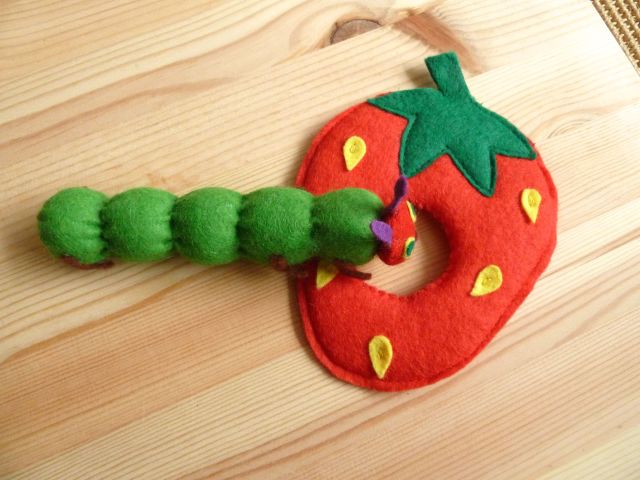
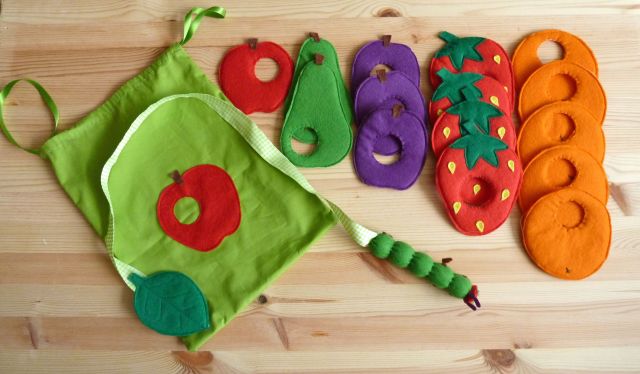
My kid’s school is just the best! Everyone and everything is geared towards learning and making sure the kids have a great time while they are doing it. So when the word got around the infant site that I could sew and I was asked by one of the nursery teachers, Miss Camp, if I could make a Hungry catepillar story set. An easy decision that I just couldn’t resist. Firstly because I love the idea and secondly because it’s for the school.
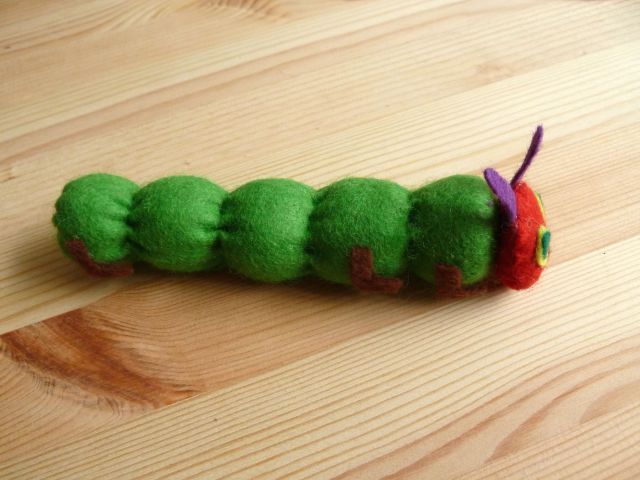
It’s not an original idea as I’ve worked from a tiny picture I was sent (and unfortunately can’t find to credit) but I’ve tried to make it my own, by adding a 3D caterpillar and a few touches to make the fruit longer lasting.
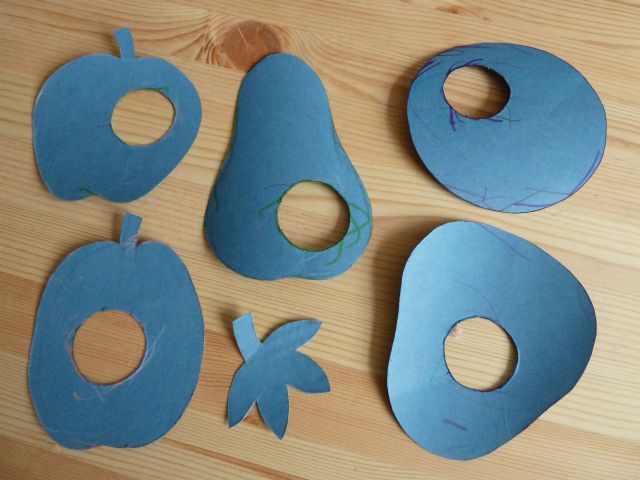
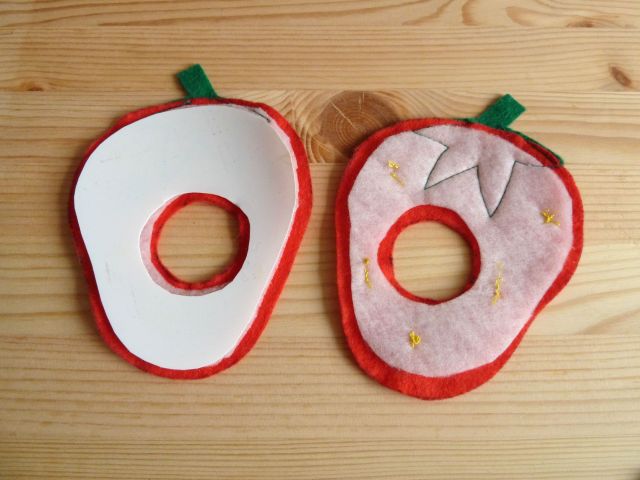
I drew my own templates, from pattern card, for each fruit using various bowls and glasses from the cupboard and once I’d cut then out got my four year old daughter to hold them to check the size. (You can see the felt pen marks where I’ve used them!)
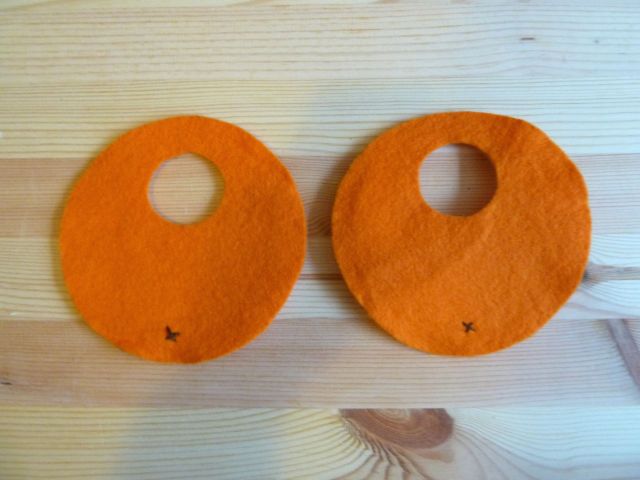
Step 1 – Draw out the number of each fruit needed on to corresponding coloured felt. Remember to reverse your template for the front and back piece of the fruit so your hold is in the right place on each piece.
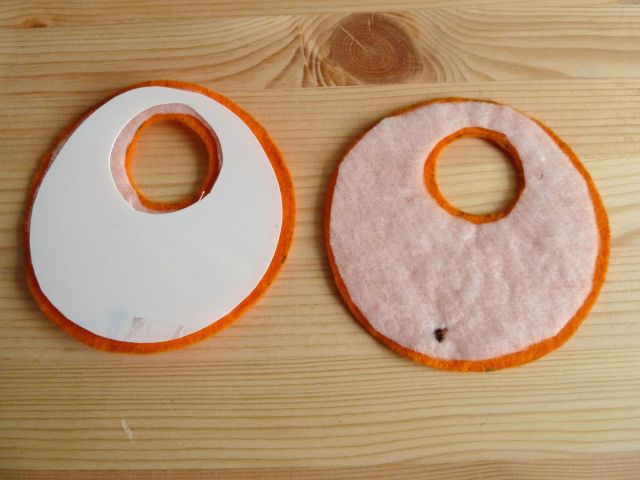
Step 2 – To create some padding I used a low loft fusible fleece I had in my stash and fused this to each side of the felt. I drew round the fruit again, reversing for front and back and them cut them out approximately 5mm smaller. To save time you could just make a set of smaller templates. I wish I’d done this but was too near the end, by the time I’d realised. I wanted to make the center firmer, so cut a similar size fruit shape from lampshade making PVC. I’m lucky to have pieces of the PVC hanging around, but if not you could just use stiff cardboard to stop the fruit from ‘drooping’
Step 3 – The most complex shape was the strawberry and I cut the stem separately and then machine stitched the bottom half of the stem to the fruit shape. I also cut yellow seeds and hand stitched these on. Any additions such as stems and hand stitches need to be done before you apply the PVC or card.
Step 4 – Stitch around the edge of each fruit starting at the top and sewing to the center bottom. As the felt will naturally stretch, I then stitch down the opposite side to avoid baggy fruit (!) and to ensure even stitching. For the fruit with stems I simply glued the stems on to get a clean result, as sewing such small pieces of felt just pulls the fibres and creates a bit of a mess!
I blanket stitched the holes using regular cotton as they were too tricky to machine stitch.
Step 5 – To make the caterpillar I took a 15 cm long by 10 cm wide piece of felt. Every 3 cm from the short edge hand I sewed a line of running stitch from the long edge to long edge. I left a long loose end and then gently pulled the threads and tied off and then stuffed this with toy fill. I repeated this all the way along until each section was full and then slip stitched along any gaps underneath.
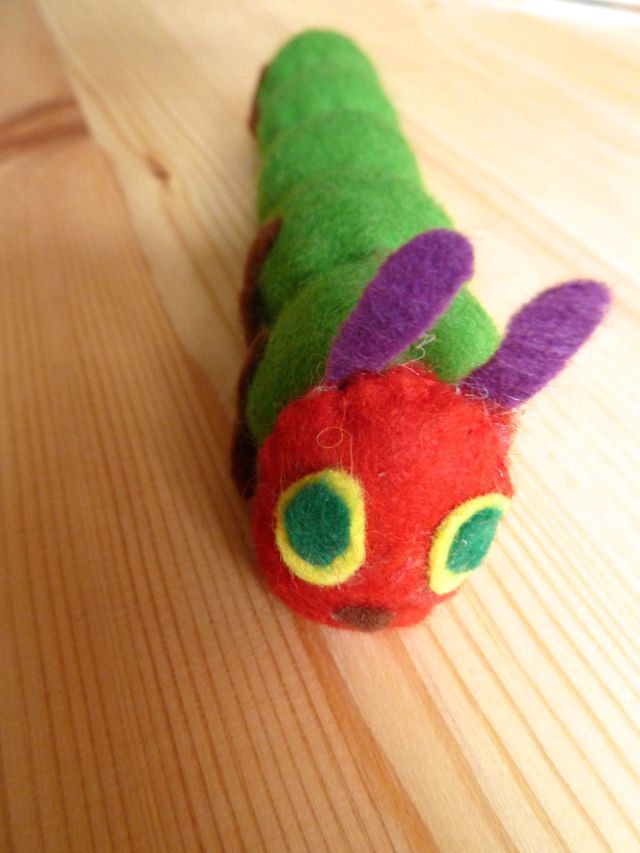
The face was made by blanket stitching round two red felt ovals and then stuffing very gently with toy fill before closing up the hole. The eyes, nose, ears and legs were all glued on with Gutterman H2 textile glue – my favourite glue! I then sewed the head to the body hiding the stitch underneath the head.
Step 6 – For the leaf I drew the freehand the design I wanted and then simply sewed over it, applied the PVC and stitched it together. By attaching a ribbon to the end of the leaf and the back end of the caterpillar the fruits stay on the ribbon!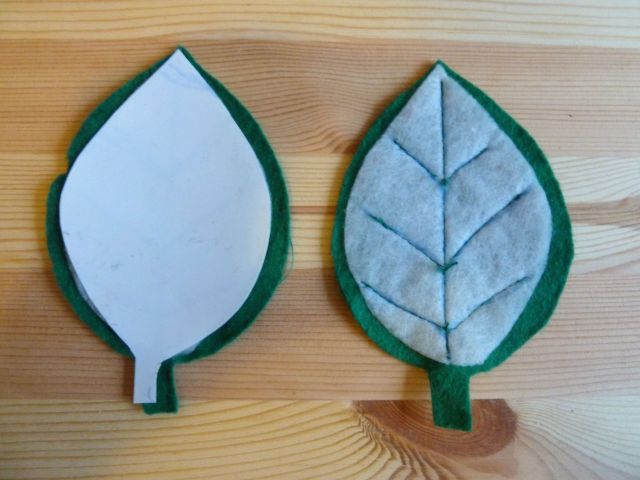
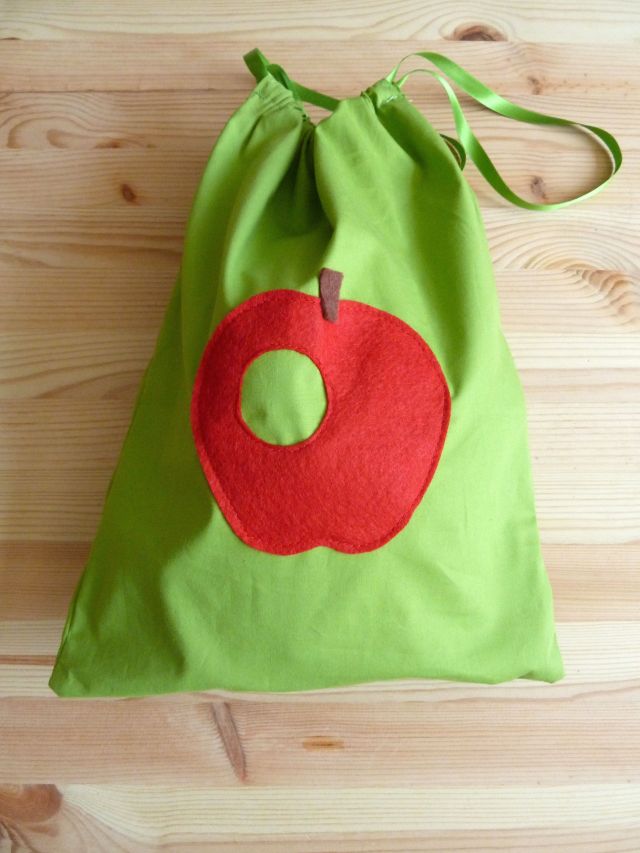
Step 7 – To finish it all off I made a drawstring bag with an apple motif on it so that the fruit pieces don’t get lost!
Happy making!

