Weddings, often give me the chance to try out a new craft and somehow that often seems to be some form of papercraft. For my sister-in-law, Joon’s wedding to her partner Jasper, it was no different.
Inspired by a simple, but beautiful, personalised butterfly picture that I saw on the Sizzix stand at the Crafts Hobby and Stitch show in Birmingham, I decided to make something similar from memory. What had stuck in my mind was that each butterfly had a paper tag with it – similar to a specimen chart – and by choosing words that mean something to the happy couple, it would make a really unique gift.
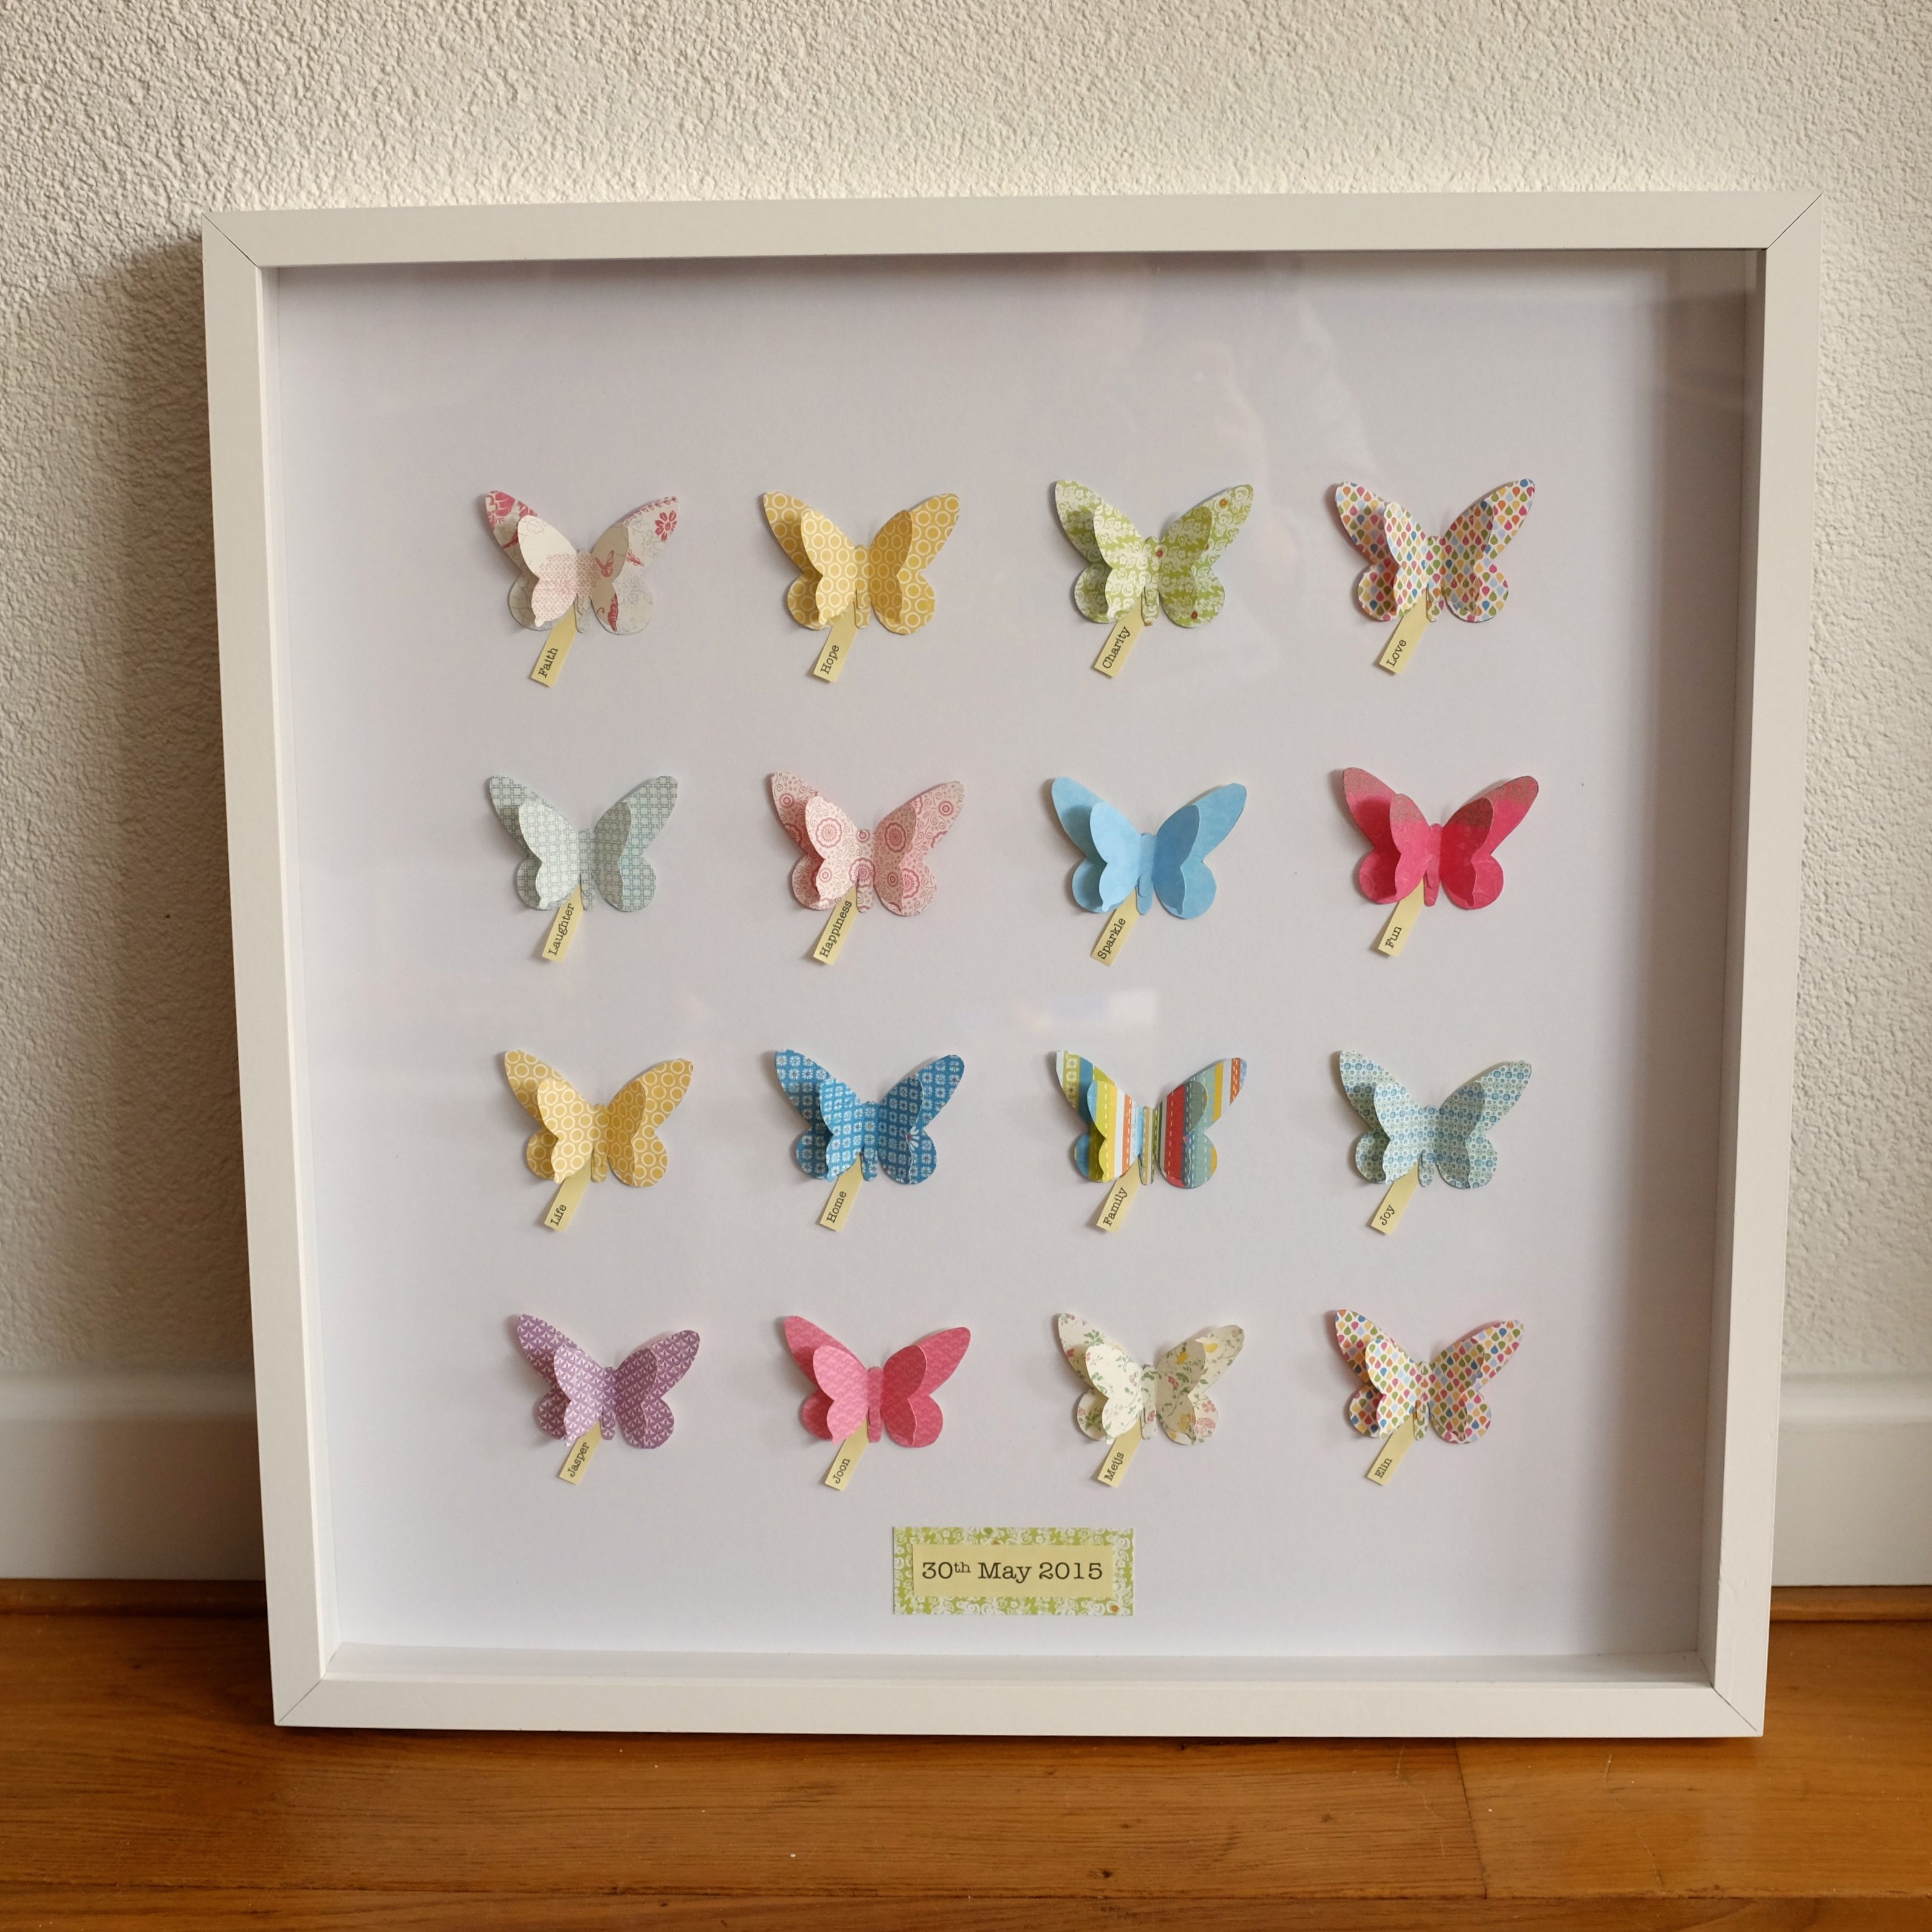
Here’s the tutorial on how you can make your own.
What you’ll need:
- Patterned card 230 gsm – I used the Hobbycraft Double sided Springtime Collection – 30 pack
- Butterfly templates – From June 2015 Prima magazine – you can download it here as a PDF here
- Cereal packet card or similar
- 3 mm double sided tape – available from Fred Aldous
- Computer and printer
- A4 coloured paper
- Mount board – 50 x 50 cm
- Picture frame (I used a 50 x 50 cm Ikea Ribba)
- Pencil or pen
- Paper scissors
Step 1 -Print the template below and cut out both sizes of butterfly. Glue onto card to create sturdier template and cut out.

Step 2 – Cut out 16 large and 16 small sized butterflies from your card choice. The small butterflies will sit on top of the large butterflies, so you can cut them either matching, contrasting card or a mixture of both.

Step 3 – Run a line of 3 mm double sided tape along the centre back of each small butterfly. Peel off the backing and match up the two butterfly heads and stick the smaller one down on top of the larger butterfly.

Step 4 – Turn over a large butterfly and draw a line from the centre of the top wing, through to the centre of the opposite bottom wing. Repeat on the opposite wing. Do the same on the backs of all of the butterflies. This cross will be used to position them later.

Step 5 – In a word document type up your words of choice and print onto coloured or plain paper and cut into approximately strips, approximately 1 cm wide and 4 cm long. Try different fonts and font sizes until you find the what suits you best.

Step 6 – Draw round a large butterfly in pencil. Lay your longest word strip over the outline, in the position you’d like it. Place the butterfly on top of the word strip and make sure the word can be seen (I left around 3 cm showing). Draw around the word strip. Place a small piece of double sided tape on the word side of each strip. Place on the guide and then stick the butterfly to the word strip.

Step 7 – Once all the words are attached to the butterflies lay them out in the order you’d like them on a surface. (You can see from the picture below that I worked this out a step later that the words needed to be attached first – you learn from my mistake!)

Step 8 – Take your frame and measure the back opening and cut a piece of mount board to size. Measure out a grid of 16 points, in the centre of your card, with a pencil ( marked with a blue cross on the photo). For a frame measuring 50 x 50 cm each point should be 10 cm apart and 10 cm from the edge of the mount board.
On the reverse of a large butterfly measure from the cross in the centre to the ‘tail end’ of the body. It should be around 2 cm. Now transfer this measurement to card, by placing a pencil dot (marked in red on the photos)2 cm below each mark. starting from the top

Step 9 – Place another strip of 3 mm double sided tape along the length of each large butterflies body. Working through your order, remove the tape and use the second point you marked to line up each butterflies ‘tail end’, making sure it sits vertically before sticking down!
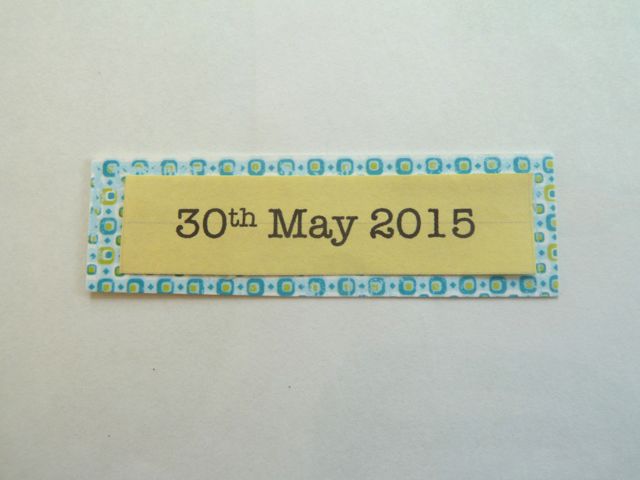
Step 10 – Make a date sign, if appropriate and stick in place below the butterflies, then reposition the card in the back of the frame.